The Only Trade I'd Always Take
This is the written companion to the Big Trades video, and it splits into two halves that need each other. The first half is the order flow read: what the aggression bubbles actually measure at 30 to 60 contracts on NQ, why an order printing inside the candle body means something opposite to the same print on a wick, and why the tool does not tell you when to buy or sell. Aggression is effort. Price is whether the effort got paid. Most of the damage people do with an aggression tool comes from reading the first and never checking the second.
The second half is the correction the video was made for. The origin of the move is not the point where the squeeze failed, and entering there is entering on the moment the last attempt died rather than the moment a new one started. Then the condition that changes everything: he would only take that trade in a gamma short environment, because it needs an expansive move to pay. 80 percent of the time the market is balancing instead, and there is a different, smaller, more frequent trade for those days. The document carries both, the higher timeframe failed auction read that gives permission for either, and a printable checklist at the end.
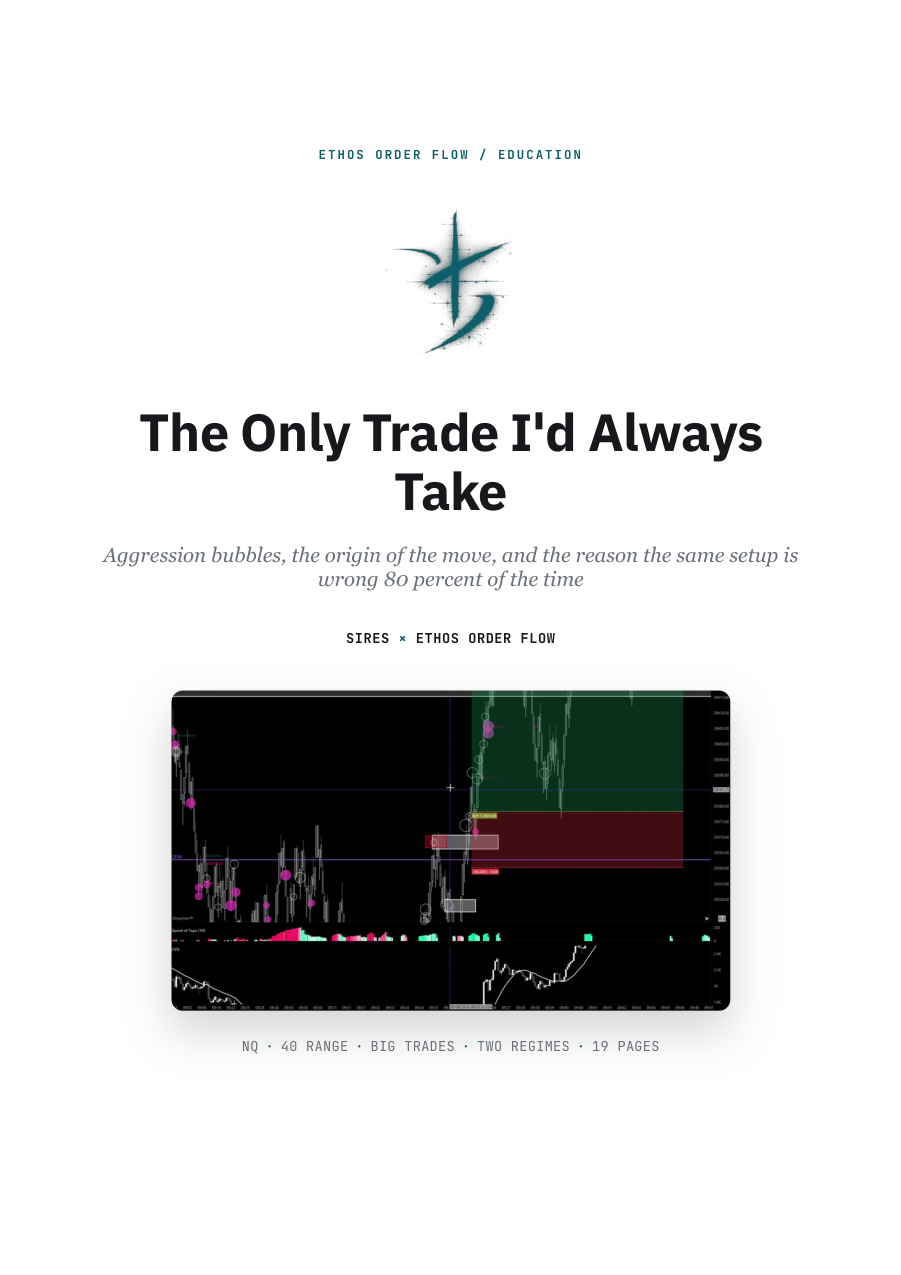
The video this comes from
The Only Trade I'd Always Take
Watch the video for the live walkthrough. The PDF is the same material structured for study, with every chart and level labelled.
Inside the PDF
- What Big Trades actually is: aggression bubbles, and the 30 to 60 contract setting behind them
- The misconception that breaks it: it shows effort, not direction
- Body or wick: the cheapest read on the chart, and the one nobody makes consciously
- The imbalance line, and what 350 percent at a single price means
- What a squeeze actually is: effort printed repeatedly with nothing to show for it
- Origin of the move: why the failure of the squeeze is not the entry
- What you are actually entering, and why the refill area below has to hold
- Why the retest beats the entry that feels early, and the honest cost of waiting
- The daily profile: minor volume nodes, the extreme of balance, and the thin area below
- The failed auction long, with the demonstrated bracket at R:R 4.85
- Why prefiring costs you: the roadblocks in front of it, and CVD below its median
- Passive moves: the position that is winning and still wrong
- Short gamma and long gamma: the same pattern, two different trades
- The trade for the other 80 percent: fading the extreme on failure of aggression
- The prop firm maths, and why a high reward to risk skew works against the payout
- The checklist: every rule in the document, printable
Enter your email, the PDF downloads instantly.