TPO, Part Two
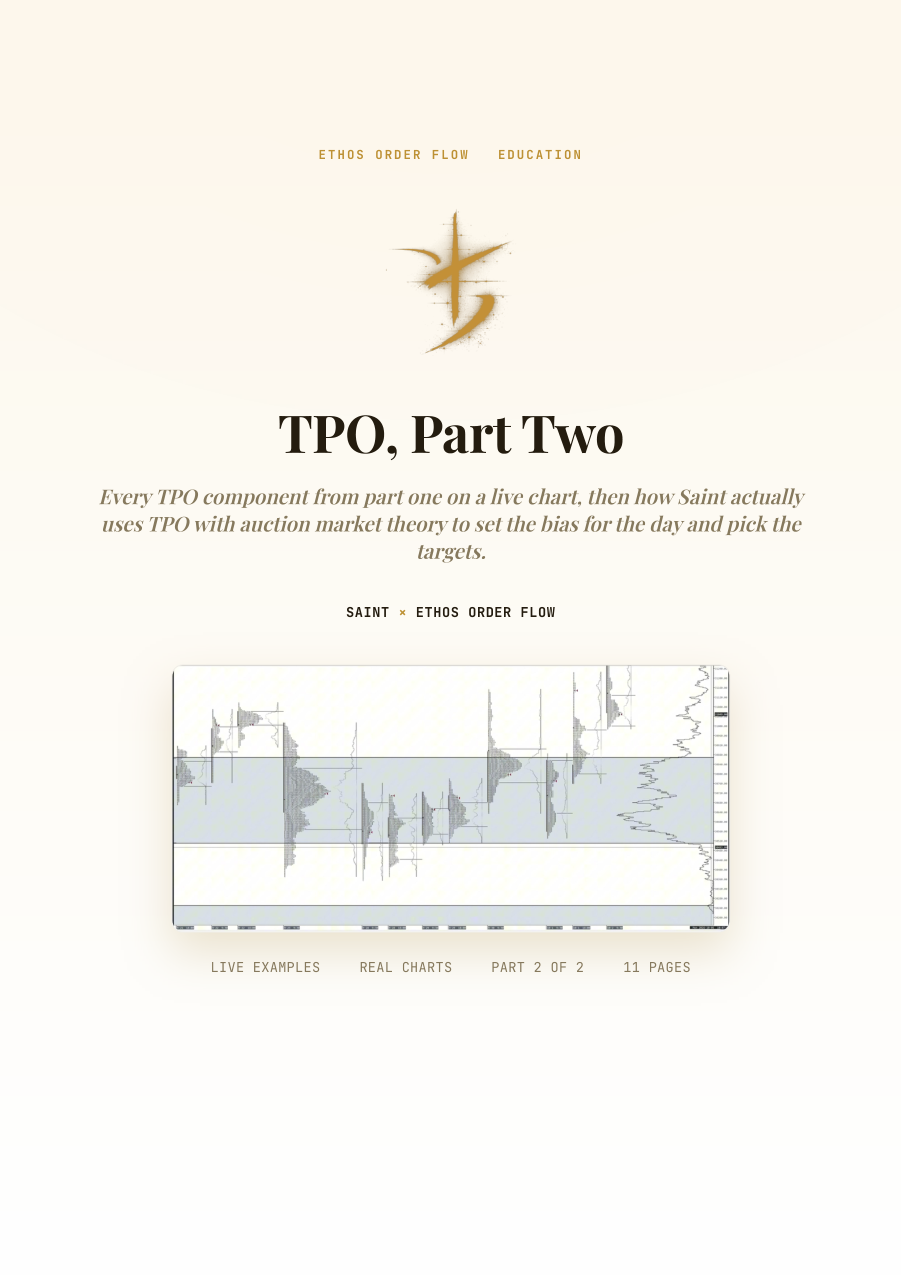
This is the written companion to the second half of Saint's TPO series. Part one went through the components on slides; part two shows each one on a live chart, in the same order. Merging turns four small profiles into one defined balance whose edges price respects, single prints get rejected on the first retests and then filled on the last three, an unfinished high above the auction gets taken out before price fails and pushes lower, and a run of ledges lines up with a volume profile shelf. Each page is honest about the limits, including which of these Saint no longer uses as levels.
The second half is how Saint actually trades it. A full two-week auction, merged only where value areas line up, read next to the yearly volume profile, with no points of interest outside the box. Then three scenarios for the bias: sellers absorbed at the extreme on the delta or Deep Charts, an unfinished low below that should be taken before any long, and a tap of the extreme with no reaction at all, which means hands off until one of the extremes gets hit. It closes with a printable checklist of what to keep.
The video this comes from
Using TPO made me $3,000 in 10 mins – TPO part 2
Watch the video for the live walkthrough. The PDF is the same material structured for study, with every chart and level labelled.
Inside the PDF
- From the slides to the chart
- Merging, on a live chart
- Single prints, on a live chart
- Unfinished highs and lows
- Ledges, on a live chart
- How Saint reads the auction
- Setting the bias: three scenarios
- Both parts together
- The live-use checklist
Enter your email, the PDF downloads instantly.